Creating a restore point
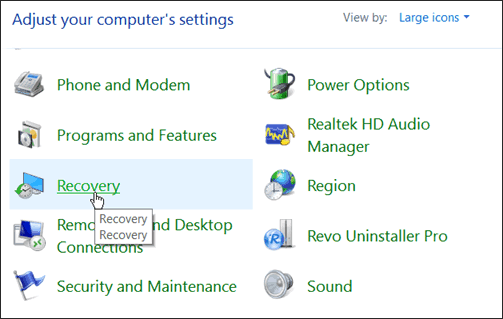
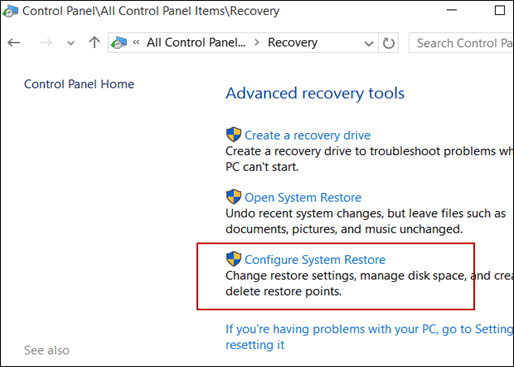
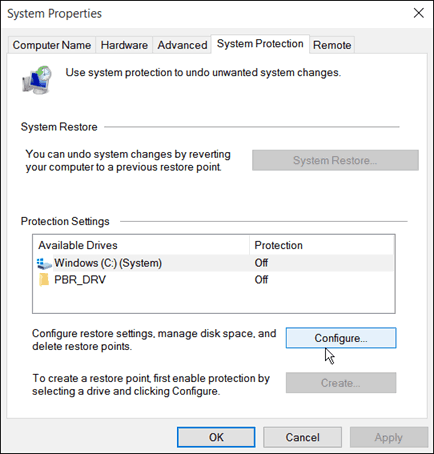
When you talk about back-up on windows without using third-party apps on your Windows 10. You’ve got the System Image and restore point as one of the means to do so. The latter is our focus here and it can be created following simple steps. Open the ‘Control Panel’ and click on ‘Recovery’. This brings you to the page where you will see ‘Configure System Restore’ which you click on. You can also get here by searching ‘restore point’ or ‘Create a restore point’ in you start menu.
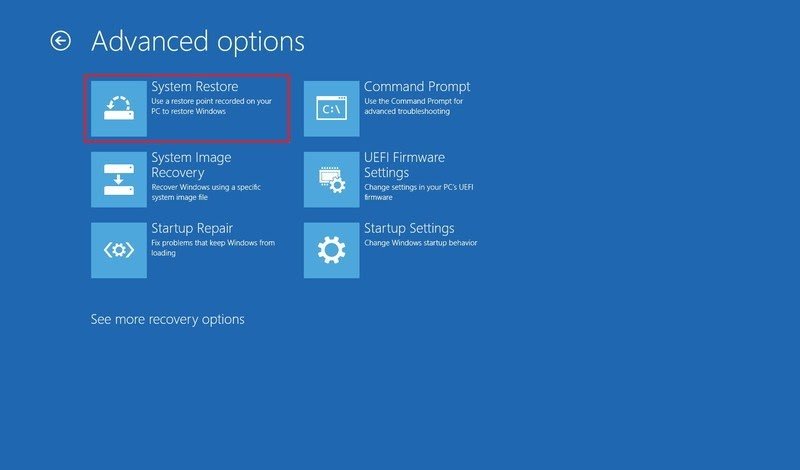
In case of a crash…..
You press F11 to enter into the recovery mood when the system is just booting up. Doing this takes you to a blue screen where you’ll find the ‘system restore’ option. Choose a user account and type in the password then click on ‘Next’. It’ll take to where you will have to select the restore point that best suit you thereby undoing the changes that made you computer unable to start. You will then click on ‘Next’ or you could decide to scan for affected programs. In order to know the apps you’ll lose because they were installed after the restore point. Confirm the warning prompt and wait for the restore to complete which will then cause your system to restart.